Showing posts with label Breakfast. Show all posts

Thursday, August 2, 2012

Gordon Ramsay's Perfect Scrambled Eggs


I love eggs for breakfast, but on the weekdays, the most I ever have time for is a couple of quick plain scrambled eggs. Weekends however, are a different story. These eggs are great for when you have more time or want to make it a bit more special. Joe made them for me to celebrate my first ever Mother's Day; I even got to have them in bed! 

Since then we've made them several more times, including just the other night for dinner. We've never tried doubling the recipe for the eggs, we just make the first batch and keep it in a warm oven while we cook the second batch. Or in this case, I took my photos of the first batch while he cooked his. 

We learned about this recipe by stumbling upon a video of him making it:


My eggs are a little more cooked than his. That's partly because I'm not eating under-cooked eggs these days since I'm pregnant, and also because that's just how I prefer my eggs. I grew up eating what would be considered very over-done eggs. Over the years I've grown accustomed to softer eggs but by culinary standards they are probably still over-cooked. I still thought mine were very creamy and delicious though, especially with the addition of the creme fraiche at the end. 


Gordon Ramsay's Perfect Scrambled Eggs
adapted from Gordon Ramsay
makes 1 generous portion (or enough for two small portions)

1 generous tablespoon unsalted butter
3 eggs
1/2 tablespoon creme fraiche
1/2 tablespoon chopped fresh chives
Thick slice of crusty sourdough bread
Olive oil
4-5 small tomatoes, on the vine if possible, cherry tomatoes would work as well
2-4 flat-capped or cremini mushrooms
salt and freshly ground black pepper

Heat a small skillet over medium/low heat. Drizzle with some olive oil, about 1/2 tablespoon or so, and when hot, add the mushrooms and tomatoes to the pan. Sprinkle with salt and pepper. Let the vegetables cook while you make the eggs, shaking the pan once or twice. 

Toast the bread, set aside. 

Crack the eggs into a small pot, add the butter. Set the pot over medium heat and immediately begin stirring the eggs together with a spatula. Once the eggs just start to come together, move the pot off the heat, for 20-30 seconds, then move it back onto the heat, but don't stop stirring. Continue moving the pot off the heat and back on the heat, stirring constantly, until the eggs are cooked enough for you. He likes them on the creamier side. 

To stop the cooking process, off the heat, stir in the creme fraiche. Season with salt, pepper, and fold in the chives. 

To serve, drizzle the toast with a little olive oil (we almost always forget this step!) and pile the eggs on top. Arrange the mushrooms and tomatoes next to the eggs. 

Best when someone else makes it for you and "gives it to you in bed"!

Monday, November 8, 2010

Adventures In Canning, Part Two


I did it!  I made my own apple butter!  It wasn't difficult, and the result tastes really good!  My main reason for making it was to be able to share it with my dad, who LOVES the stuff.  He's getting like half the batch - which should last him a couple months :-)  

I was going to attempt to re-write the recipe I used, and give detailed instructions on canning, but I'm afraid I will miss some details or not explain them well, and it's really not the kind of thing you should cook by just reading a one page recipe anyway.  I think if you are going to can something like this you should have a book to refer to in case you have a question or something doesn't seem to be going just as planned.  You need to follow the directions to the letter to be sure that your product is safe.  I borrowed my friend Amy's canning supplies and the book she uses.  I really liked the book, it's called "The Busy Person's Guide to Preserving Food" by Janet Chadwick.  It tells you everything you need to know about canning, freezing, and drying food.  I'm going to get my own copy, along with my own canning supplies, because this was fun.  I also like this website.  It has a ton of info on canning, along with stuff about local produce in general.  

So instead of typing the recipe exactly, here are some pictures and brief explanations of what I did.  In case you noticed, you're right, this is not my kitchen.  I ended up house-sitting for a friend on short notice, so I made the apple butter in her kitchen.

First, I went to the Farmer's Market and bought about 12 pounds of apples (I was making a double batch).  I was looking for tart apples, such as Liberty, Golden Delicious, McIntosh, and Jonathan.  I bought a few pounds from about four different farms so I had a good variety.

About half of the apples I bought.
I loved this recipe because I didn't have to peel or core a single apple!  I just chopped the apples into small pieces, including the peels and cores, and put them into a pot with 2 cups of apple cider (which I bought from one of the apple farms).  I brought it to a boil and let the apples cook for about 20 minutes.


They cooked down considerably.


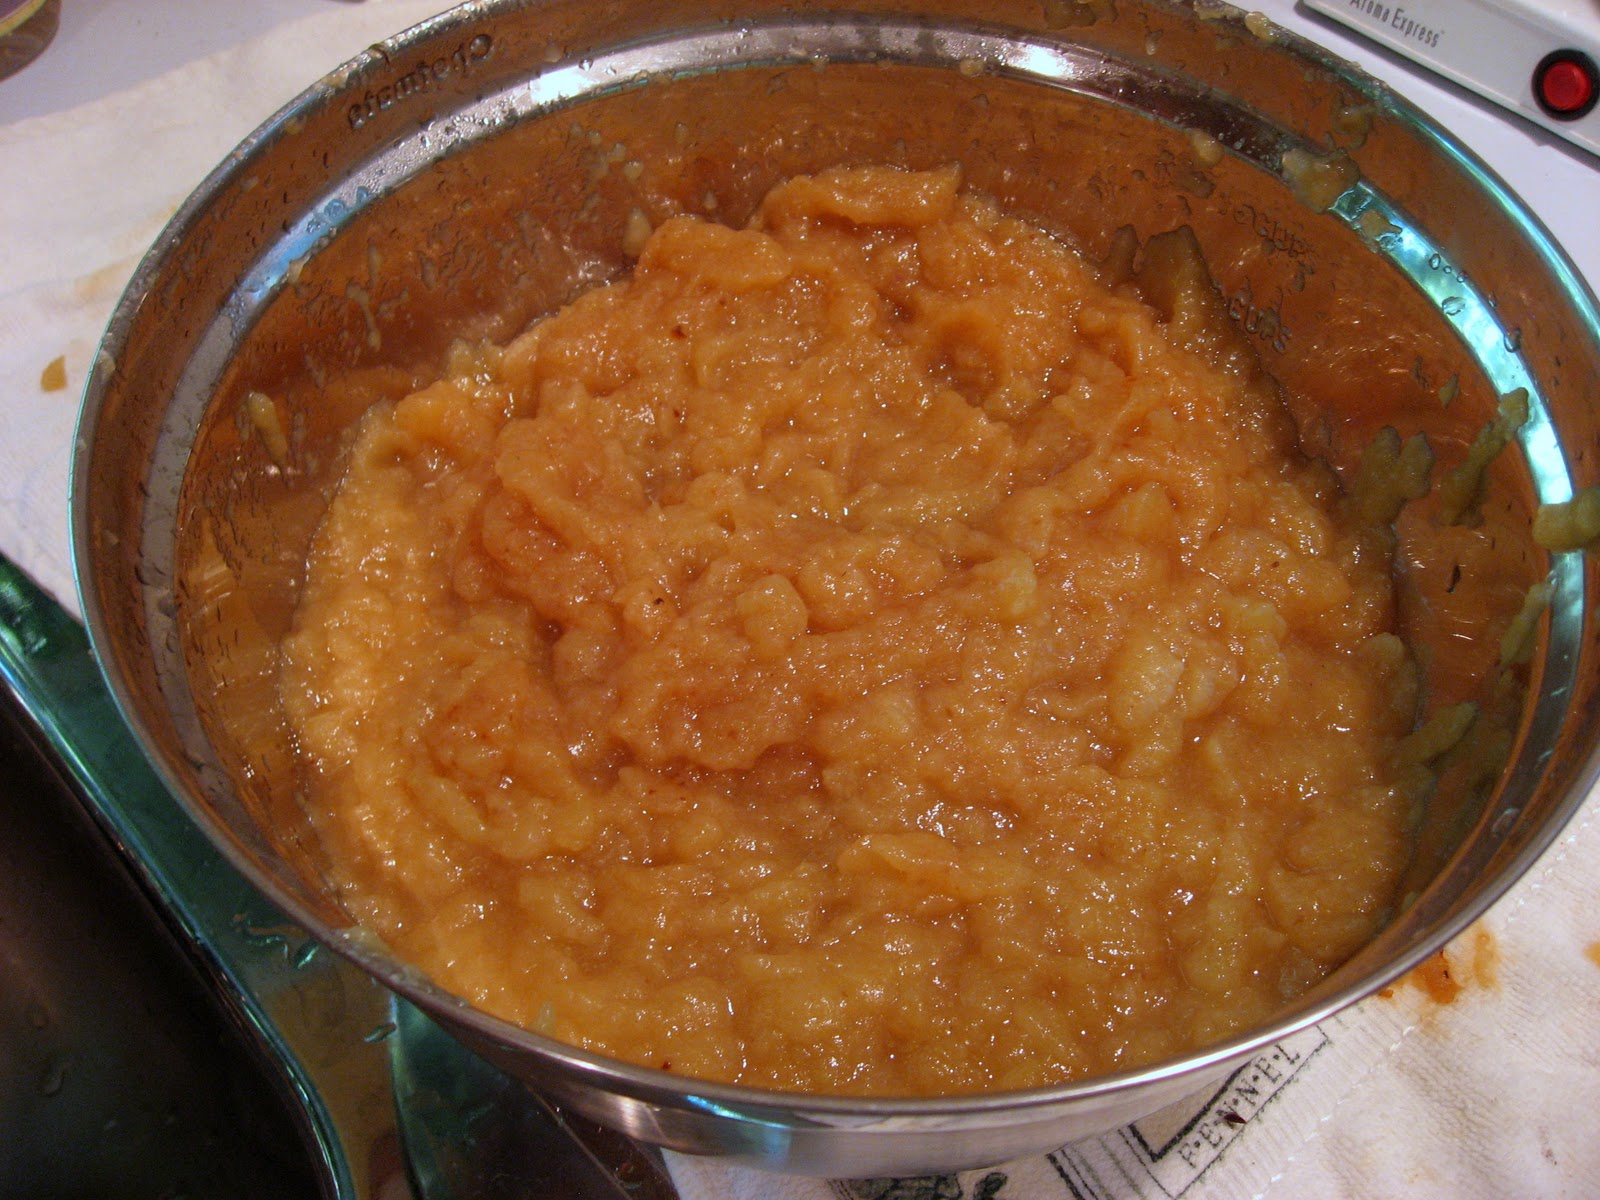
I then ran the cooked apples through a food mill in batches.  My awesome mother-in-law was kind enough to mail me her food mill so I wouldn't have to buy one (needless to say, when I return it to her, she's getting a jar of apple butter to go with it!).  The food mill helps to separate out the peels and seeds, so you are left with, basically, apple sauce.  I blended it a little more with an immersion blender to get it a little smoother.  


I spread the mixture out into a shallow baking dish and put it in a 200 F oven and let it cook for 8 hours, stirring every hour or so.  Then I added a little ground cinnamon and cloves (no sugar at all!). 


About an hour before I was ready to fill the jars, I filled the waterbath canner and turned the heat up to bring it to a boil (it took a LONG time).  I got the lids gently simmering in a pot of water, and I had another pot of water barely boiling in case I needed to add more to the waterbath at any point.  I cleaned the jars in the dishwasher so they would be clean and hot when I was ready.


I filled the jars, wiped the rims with a clean damp cloth, and put on the lid and screw band.  Then I loaded the jars into the rack in the water bath and lowered them to the bottom.  I had to wait awhile for the water to come back to a boil, but then I just had to boil them for 5 minutes and then I took them out and let them cool for 24 hours on the counter.

Jars loaded, ready to be lowered.
Jars lowered, waiting for water to return to a boil.
I know the lids are sealed because the center is depressed (no popping when pressed), and I can pick up the lid by the edge and it stays sealed.    

The jars had a fine white powder on the outside, I think it was residue from the metal rack.  It wiped right off.  
Related Posts Plugin for WordPress, Blogger...