Wednesday, November 17, 2010

(Leftover) Roast Beef Hash


Following up on my last post, this was my favorite leftover meal that we made.  What is your favorite way to use leftover roast beef?


Roast Beef Hash
serves 4

Note: Instead of roast beef, you can also use leftover corned beef.  You can also swap out 1 cup of the boiled potatoes with peeled cooked beets to make what's called Red Flannel Hash.  

3 tablespoons oil or butter
2 cups chopped leftover roast beef (small cubes)
2 cups chopped cold boiled potatoes (small cubes)
1 cup chopped onion (I like it finely chopped in this dish)
1/2 cup liquid, such as stock, tomato sauce, milk, cream, or gravy
Salt and freshly ground black pepper, to taste

In a large bowl, toss together the beef, potatoes, and onion.  Add about 1/2 cup of the liquid, just enough to moisten the mixture but not so much that it becomes soupy.  Season with a little salt and pepper.  

Put the oil or butter into a large oven-proof, preferably nonstick, skillet and turn the heat to medium-low.  When hot, add the hash, pressing it out into a nice flat layer with a spatula.  Cook, undisturbed, for about 10 minutes.  Preheat the broiler.

At this point, Bittman suggests you can flip the hash over and brown the other side.  Mine did not seem that sturdy, so I opted for his other suggestion of browning the top under the broiler.

Serve with a fried egg on top, if desired.    

Monday, November 15, 2010

Beef Sirloin Tip Roast with Roasted Vegetables


A couple of months ago we purchased quarter of beef from Bald Hill Farms.  We now have a whole chest freezer full of delicious grass-fed, free-range cuts of meat.  To buy high-quality meat like this in small quantities is not very cost-effective, so we decided to take the plunge and buy in bulk, saving money in the long run.  I still don't want to eat meat everyday, but I like supporting a local company and I like how they raise their animals.  They've dedicated part of their land to public hiking trails, so I can actually go on a hike and walk right by their pastures (and I have)!  Talk about knowing where your meat comes from!    

This was the first of the roasts we made, using a recipe from the weekly ad at our new Market of Choice.  Note to self: take the meat out of the freezer much sooner than you will need it to give it plenty of time to thaw!  I'm not sure it was as tender as it should have been, because it was still a bit frozen in the middle.  We kept the internal thermometer in so we could be sure it reached a safe temperature, but I'm afraid the outer parts cooked a bit longer than desired.  Still, the flavorings complimented the meat very nicely and we were very happy with it in the end.  We also roasted a large pan of local root veggies which were delicious.

We cooked a 5 pound roast instead of 3 pounds like it called for.  That gave us lots of leftovers to use in various ways throughout the week.  We had roast beef sandwiches, steak quesadillas, and my favorite, steak hash with a fried egg on top!  None of it went to waste.  I also had lots of leftover roasted veggies, along with some extras that wouldn't even fit on the pan, so about a week later (I didn't really want to wait a whole week, but I was too busy) I made a yummy pureed mixed vegetable soup.  I cooked the raw veggies first, then added the roasted veggies near the end.  


Beef Sirloin Tip Roast with Roasted Vegetables
adapted from Market of Choice
serves 6-8

Notes: The recipe calls for Sierra Nevada Autumn Ale, which I used and is delicious, however it's seasonal and might not be available in stores anymore.  But any good brown or amber ale will do.  

For the roast:
3 pound sirloin tip roast
3 tablespoons olive oil
2 tablespoons kosher salt
1 teaspoon ground black pepper
1 teaspoon smoked (Spanish) paprika
1 teaspoon onion powder
1 teaspoon garlic powder
1 teaspoon dried oregano
pinch cayenne
1 yellow onion, roughly chopped
8 whole garlic cloves, crushed
1 tablespoon whole black or tri-color peppercorns
2 bay leaves
1-12 ounce brown or amber ale (see note above)

Preheat oven to 350 F.  Heat the oil in a Dutch oven (or other type of roasting pot) over medium-high heat.  Combine the kosher salt, ground black pepper, paprika, onion powder, garlic powder, dried oregano, and cayenne, and sprinkle generously all over the roast.  Brown the roast on all sides in the pot.  Add the onion, garlic, peppercorns, bay leaves, and the beer.  Bring to a simmer.  Transfer the pot to the oven and roast, uncovered, for about 1 hour, or until the internal temperature reaches 135 F (for medium rare).  Remove roast from oven and from pot, and let rest for 10 minutes before slicing.  Serve with pan juices and roasted vegetables.  

For the roasted vegetables:
Use a mix of your favorite root or hard fall vegetables, such as pumpkin, squash, rutabaga, turnips, carrots, potatoes, and parsnips.  The amounts and types listed below are a suggestion; just deviate from it depending on what you like or what you have.    

2 pounds pumpkin or winter squash, peeled, seeded, and diced into 1-inch pieces
1 medium rutabaga, peeled and diced into 1-inch pieces
2 medium turnips, peeled and diced into 1-inch pieces
1 pound medium red potatoes, quartered
2 medium carrots, peeled and chopped into 1/2-inch pieces
12 whole garlic cloves, peeled
1 yellow onion, chopped
1/4 cup olive oil (it actually calls for pumpkin seed oil, which might be good, but I didn't want to buy a special oil just for this)
Salt and pepper to taste

Toss all ingredients together on a baking sheet.  Roast in the oven at the same time as the meat for 40-50 minutes until softened and caramelized.  Serve immediately.  

Monday, November 8, 2010

Adventures In Canning, Part Two


I did it!  I made my own apple butter!  It wasn't difficult, and the result tastes really good!  My main reason for making it was to be able to share it with my dad, who LOVES the stuff.  He's getting like half the batch - which should last him a couple months :-)  

I was going to attempt to re-write the recipe I used, and give detailed instructions on canning, but I'm afraid I will miss some details or not explain them well, and it's really not the kind of thing you should cook by just reading a one page recipe anyway.  I think if you are going to can something like this you should have a book to refer to in case you have a question or something doesn't seem to be going just as planned.  You need to follow the directions to the letter to be sure that your product is safe.  I borrowed my friend Amy's canning supplies and the book she uses.  I really liked the book, it's called "The Busy Person's Guide to Preserving Food" by Janet Chadwick.  It tells you everything you need to know about canning, freezing, and drying food.  I'm going to get my own copy, along with my own canning supplies, because this was fun.  I also like this website.  It has a ton of info on canning, along with stuff about local produce in general.  

So instead of typing the recipe exactly, here are some pictures and brief explanations of what I did.  In case you noticed, you're right, this is not my kitchen.  I ended up house-sitting for a friend on short notice, so I made the apple butter in her kitchen.

First, I went to the Farmer's Market and bought about 12 pounds of apples (I was making a double batch).  I was looking for tart apples, such as Liberty, Golden Delicious, McIntosh, and Jonathan.  I bought a few pounds from about four different farms so I had a good variety.

About half of the apples I bought.
I loved this recipe because I didn't have to peel or core a single apple!  I just chopped the apples into small pieces, including the peels and cores, and put them into a pot with 2 cups of apple cider (which I bought from one of the apple farms).  I brought it to a boil and let the apples cook for about 20 minutes.


They cooked down considerably.


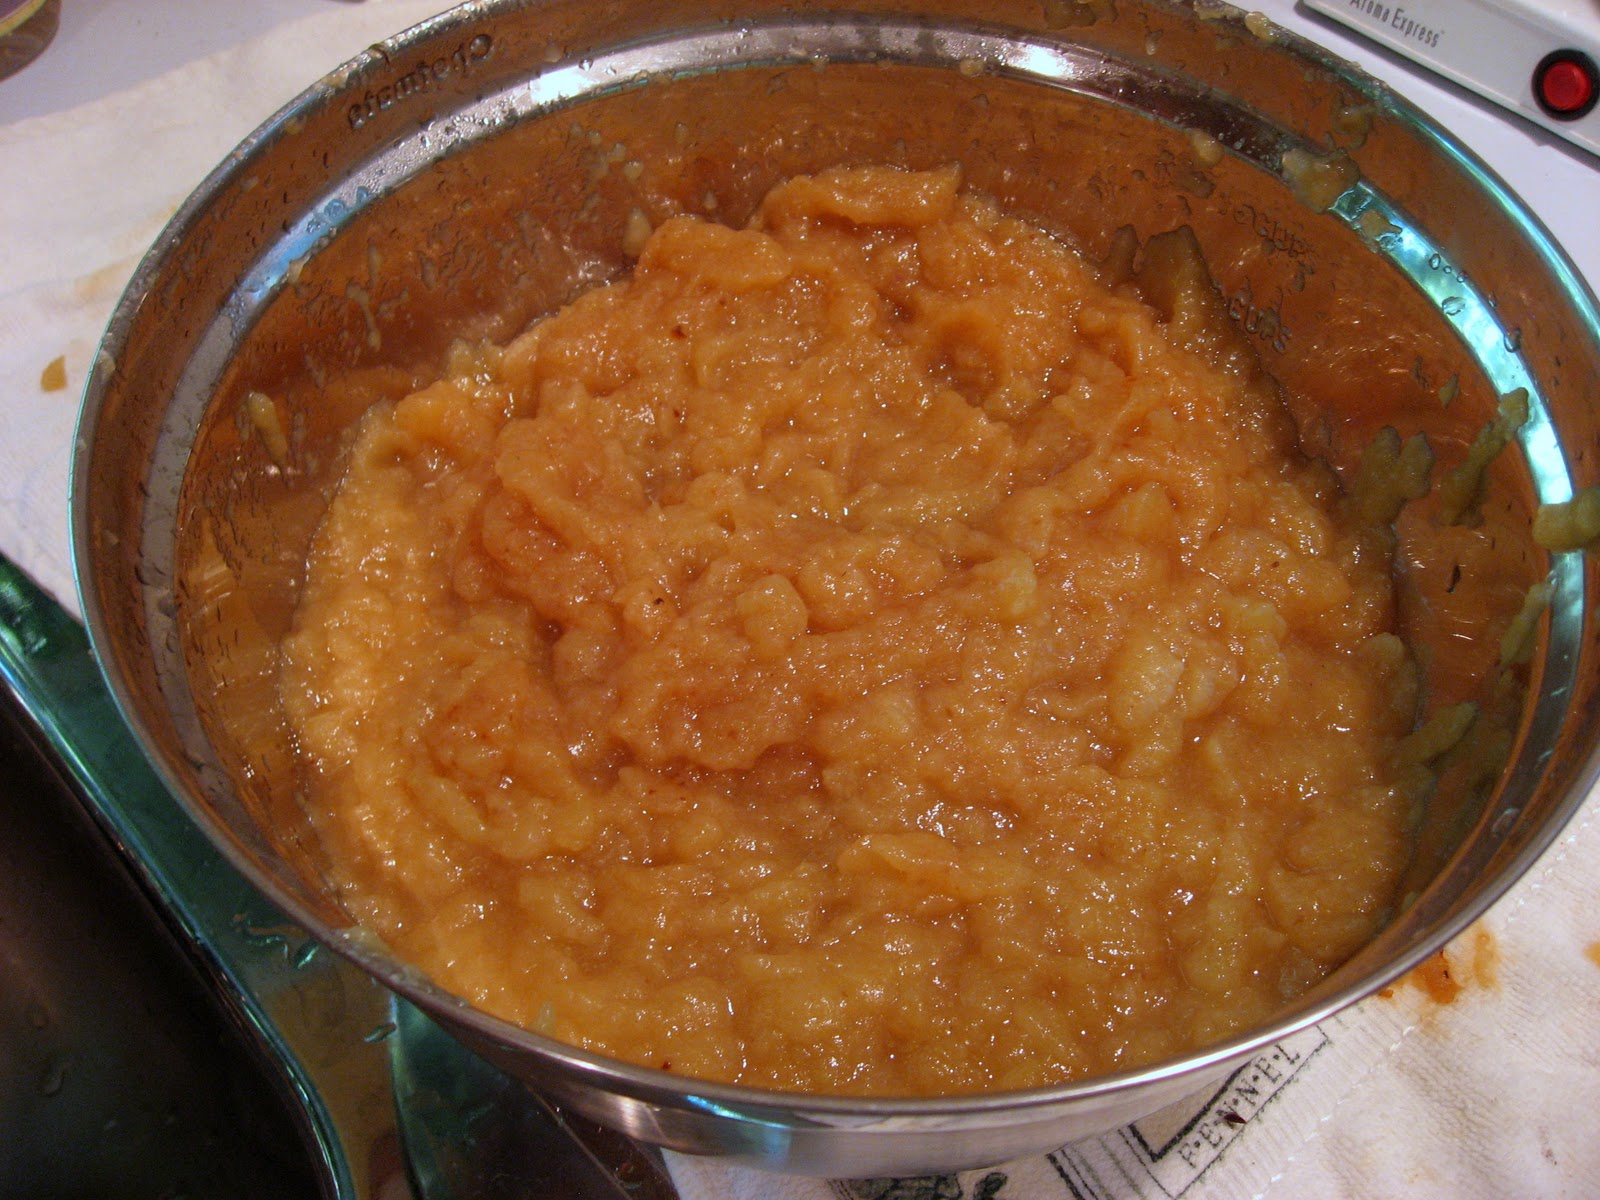
I then ran the cooked apples through a food mill in batches.  My awesome mother-in-law was kind enough to mail me her food mill so I wouldn't have to buy one (needless to say, when I return it to her, she's getting a jar of apple butter to go with it!).  The food mill helps to separate out the peels and seeds, so you are left with, basically, apple sauce.  I blended it a little more with an immersion blender to get it a little smoother.  


I spread the mixture out into a shallow baking dish and put it in a 200 F oven and let it cook for 8 hours, stirring every hour or so.  Then I added a little ground cinnamon and cloves (no sugar at all!). 


About an hour before I was ready to fill the jars, I filled the waterbath canner and turned the heat up to bring it to a boil (it took a LONG time).  I got the lids gently simmering in a pot of water, and I had another pot of water barely boiling in case I needed to add more to the waterbath at any point.  I cleaned the jars in the dishwasher so they would be clean and hot when I was ready.


I filled the jars, wiped the rims with a clean damp cloth, and put on the lid and screw band.  Then I loaded the jars into the rack in the water bath and lowered them to the bottom.  I had to wait awhile for the water to come back to a boil, but then I just had to boil them for 5 minutes and then I took them out and let them cool for 24 hours on the counter.

Jars loaded, ready to be lowered.
Jars lowered, waiting for water to return to a boil.
I know the lids are sealed because the center is depressed (no popping when pressed), and I can pick up the lid by the edge and it stays sealed.    

The jars had a fine white powder on the outside, I think it was residue from the metal rack.  It wiped right off.  
Related Posts Plugin for WordPress, Blogger...